

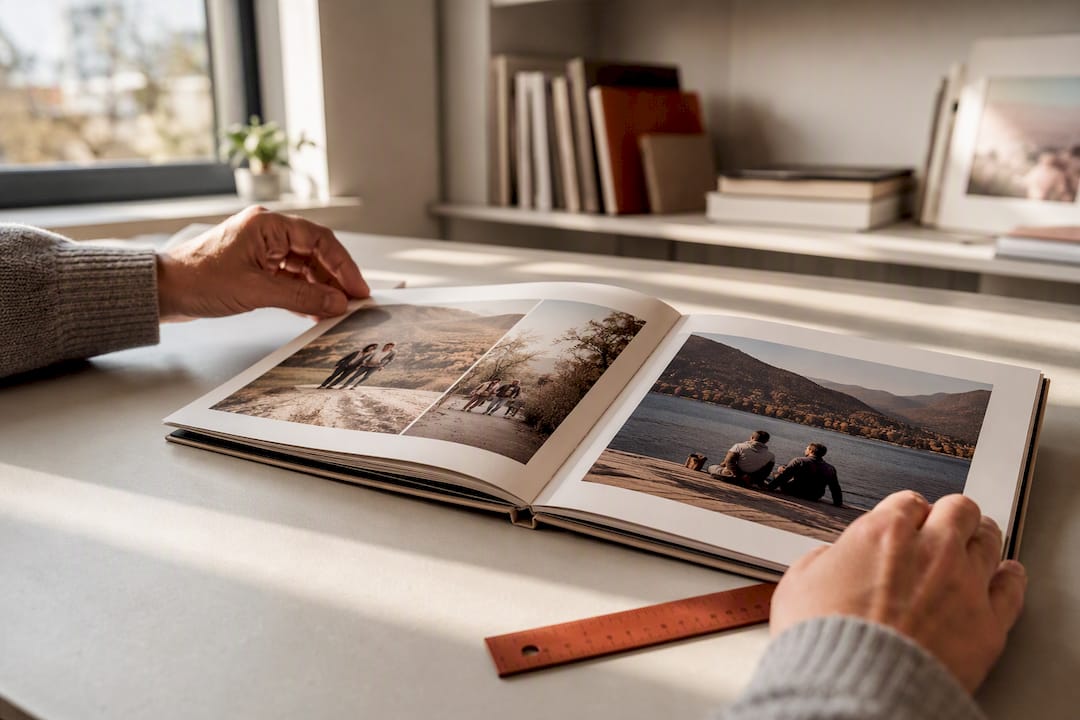
A photo book template in Word can be a useful starting point if you treat the document as a book project, not a loose collection of pictures. For 50 to 80 pages, start with your printer's specifications, then build a fixed page system, keep images uncompressed, and run several quality checks. One distinction matters from the outset: Word's Book fold option is meant for booklets you print, fold, and bind yourself. A commercial printer will usually want individual pages in reading order, not imposed two-page spreads.
Table of contents
- What Word does well and where it falls short
- 1. Confirm the print requirements before creating the document
- 2. Build a page plan for 50 to 80 pages
- 3. Set up the Word document properly
- 4. Place images without losing quality
- 5. Use a calm, consistent photo book grid
- 6. Organize text, captions, and stories
- 7. Export the PDF for the printer
- 8. Check the book page by page
- Frequently asked questions
- Sources
What Word does well and where it falls short
Word can work well for a personal photo book with straightforward pages, short passages, and repeating layouts. It is especially practical if you already know the software and want relatives to review or edit the text. Styles, page numbers, section breaks, and PDF export are enough for many simple book projects.
It becomes less reliable with full-bleed images, complex spreads, or a printer that requires a particular PDF/X profile. Word does not provide the professional preflight tools found in page-layout software. The right setup therefore comes from the specifications of your chosen printer, not from a universal recipe. If bleed or color management is critical, dedicated photo book or page-layout software is usually the safer choice.
Page imposition is another important distinction. Microsoft explains that Book fold arranges pages in the order needed for folding and binding. That is useful for a booklet produced on your own printer. A commercial book printer normally handles this arrangement. Lulu's current PDF specification, for example, explicitly requires a single-page layout. Send pages in standard reading order unless your printer says otherwise.
1. Confirm the print requirements before creating the document
Do not begin by choosing the prettiest template. First open the printer's file specifications or ask for these six details:
- The trim size of each page, such as US Letter, A5, or 8 x 8 inches
- The required bleed on every outer edge
- The safe area for text, faces, and important parts of an image
- The accepted color space or requested color profile
- The required PDF standard and how embedded fonts are handled
- Whether to supply single pages or spreads, and whether the cover is a separate file
The trim size is the finished page after cutting. Bleed extends beyond that edge and is trimmed off after printing. The safe area sits inside the trim line so text and faces do not end up too close to the cut or binding. Copy these measurements into a short project note and avoid changing them once the layout is underway.
If the printer supplies a Word template, use that exact file. The guides from Korrektur and the BoD blog illustrate typical settings for page blocks, margins, and styles. They do not replace the current specifications from your own printer. If you have not chosen a format or binding yet, use the guide to printing a family history book first.
2. Build a page plan for 50 to 80 pages
A page plan prevents the early years from taking up 40 pages while the present day gets only six. Before opening Word, create a simple table with page ranges, content, and the files you still need. One possible plan for 64 interior pages looks like this:
| Pages | Content | Purpose |
|---|---|---|
| 1 to 4 | Title, dedication, short introduction | Create a calm opening |
| 5 to 12 | Family origins and early years | Introduce people and places |
| 13 to 24 | Childhood and school | Pair stories with 1 to 4 photos per page |
| 25 to 38 | Education, work, and new beginnings | Make room for longer image sequences and documents |
| 39 to 52 | Relationships, family, and everyday life | Connect generations |
| 53 to 60 | Celebrations, travel, and small rituals | Build more visual chapters |
| 61 to 64 | Family tree, acknowledgments, photo index | Provide context and closure |
Commit only about 80 percent of the pages at first. Keep the rest available for an unexpectedly good photograph, a longer story, or a chapter opener. Blank pages can also serve a technical or visual purpose in a bound book. Depending on the binding method, the total page count may need to be divisible by two or four. Confirm that detail with the printer.
3. Set up the Word document properly
Create the document only after the size and page plan are settled. This order helps prevent later layout shifts:
- Under Layout > Size, choose the final page dimensions.
- Open Layout > Margins > Custom Margins and enter the inside, outside, header, and footer spacing.
- Use mirrored margins only when you are designing facing book pages and the printer expects individual pages.
- Create styles for the book title, chapter headings, body text, and captions.
- Start every chapter with a section break on a new page.
- Use different headers and footers between sections only when you truly need them.
- Add page numbers after setting up the unnumbered front matter.
The GICOM guide lists Word files as a possible starting point and asks customers to clarify the book format, cover, and quantity. Even when a printer accepts Word, set the page size and margins before layout: a late format change can move dozens of photos in an image-heavy file.
Save versions as you work. Rather than overwriting one file indefinitely, use names such as PhotoBook_v03_Chapters-through-1980.docx. Create a new version before any major change so you can return to a layout that still works.
4. Place images without losing quality
Work from a dedicated project folder containing copies of the high-resolution originals. Pictures saved from messaging apps, screenshots, or social media downloads are often smaller than the source files. Check the pixel dimensions and intended print size, not just the file size. If the source collection is still chaotic, begin with the guide to organizing family photos digitally.
Use this simple calculation:
pixels ÷ desired ppi × 2.54 = print width in centimeters
An image that is 2400 pixels wide will print at about 20.3 cm at 300 ppi. At 200 ppi, it would be about 30.5 cm wide. Acceptable effective resolution depends on the subject, paper, viewing distance, and printing process. Lulu's print specification sets 300 ppi at final size as its target; your printer's requirement takes precedence.
Word may compress inserted images. Microsoft shows how to select Do not compress images in file in its guide to turning off picture compression. Make this change before importing many photos. The file will become large, so save it locally and create incremental versions.
Choose In Line with Text whenever an image can behave like a normal paragraph. This is more stable than a freely floating object. For fixed image-and-caption combinations, use table cells with invisible borders. They keep the photograph and its caption together without requiring you to reposition every element separately.
5. Use a calm, consistent photo book grid
A strong photo book does not need a new visual idea on every page. Create three or four page types and repeat them:
- Chapter opener: one heading, a short paragraph, and one strong photograph
- Story page: one large photograph and 150 to 250 words
- Photo page: two to four pictures with concise captions
- Document page: a letter, certificate, or newspaper clipping with explanatory context
Align photos to the same outer edges, use consistent spacing, and limit the number of image sizes. Keep faces away from the binding. Avoid placing text directly over a busy picture. If you use a photograph as a background, place the text on a calm, light surface and check its readability in the exported PDF.
Free templates can provide a starting point. TheGoodocs offers editable photo book examples. Do not adopt their page dimensions, fonts, or export settings without checking them. Adapt the size and grid to your printer and your own material first.
6. Organize text, captions, and stories
A caption should say more than "Grandma at the lake." Useful details answer four questions: Who is in the picture, where and when was it taken, what was happening, and where did the information come from? If a detail is uncertain, write "probably 1968" or "according to Maria" instead of inventing an exact date.
For longer stories, use a simple structure:
- Setting: Where are we, and who is involved?
- Moment: What happened that the family still talks about?
- Meaning: Why does this memory matter today?
When several people are contributing, collect the text, photos, and follow-up questions before placing them in the layout. With FamilyStories, families can gather guided questions, written responses, voice recordings, and related photographs in one private place. On a paid plan, stories can then be exported as Word or PDF files and photos downloaded separately. It does not replace the Word layout, but it reduces retyping and preserves the original voice behind a picture.
7. Export the PDF for the printer
Save a new version of the Word file before exporting, then update the table of contents, page numbers, and cross-references. Hide comments and tracked changes. Open File > Export > Create PDF/XPS Document or Save As > PDF. Choose the standard or print option, not minimum file size. Microsoft explains these settings in its guide to saving or converting a file to PDF.
Word can embed fonts when the font file permits it. Microsoft's overview of the benefits of embedding custom fonts also explains why a missing font can change a layout. After export, open the PDF properties and check which fonts are embedded.
A standard PDF exported from Word is not automatically a press-ready PDF/X file. If the printer requires PDF/X-1a, PDF/X-4, a particular color profile, or true bleed marks, ask for a verified workflow or move the final output to suitable page-layout software. Give the PDF a clear name, such as Miller_PhotoBook_8x8in_v05.pdf.
8. Check the book page by page
Do not inspect only the Word document. Open the exported PDF on a second device and review every page at 100 percent. Follow this order:
- Are the page count, reading order, and chapter openings correct?
- Are all images sharp, with no placeholders, black areas, or visible compression artifacts?
- Do faces, text, and captions stay clear of the trim and binding?
- Are fonts, special characters, and page numbers complete?
- Are there blank pages, shifted tables, or isolated headings at the bottom of a page?
- Have all comments and tracked changes disappeared?
- Do the PDF page size and file name match the order exactly?
Print four representative pages on an ordinary printer as well: a text page, a dark photo page, a light photo page, and a page with small captions. A home printout will not simulate the commercial press, but it can reveal type that is too small, margins that are too tight, and weak contrast.
Only then upload the file. Use the printer's online preview and recheck the first, middle, and last pages, plus every chapter transition. If the service flags an issue automatically, correct the cause in Word and export again instead of simply dismissing the warning.
Frequently asked questions
Only if you will print, fold, and bind the paper yourself, or if your printer specifically asks for it. Professional book production usually requires individual pages in normal reading order. Confirm the required file structure before you begin the layout.
With a calm mix of chapter openers, story pages, and photo pages, about 90 to 160 pictures is realistic. The exact number depends on the page size, image quality, and amount of text. A smaller selection of strong photographs usually works better than filling every available space.
A target of 300 ppi at final print size is common, but it is not a universal rule. Old scans and small historical photographs may still be worth including at a lower resolution. Do not enlarge a file artificially, and check the printer's minimum requirement.
Only with workarounds, and not with the same control as professional page-layout software. If the printer requires true bleed or a specific PDF/X profile, use its template and test a sample page early. A different program is usually more reliable for a book with many full-bleed pictures.
Floating images are tied to paragraph anchors and wrapping rules. Pictures set to In Line with Text, or placed in table cells with invisible borders, are more stable. Set the page size before adding them and avoid changing the margins late in the project.
The printer's own template is the safest choice. A general template may provide the grid, but it still needs to match the trim size, bleed, safe area, and PDF requirements. Test eight representative pages before laying out the whole book.
Keep your family's stories, in their own voices
FamilyStories is the iPhone and iPad app where your family collects life stories: with personal questions, real voices and photos, kept private, and in the end a printed book.
- Personal questions by chapter of life
- Spoken words become text automatically
- The original voice is always kept
- Photos right next to their story
- A family circle for up to 10 people
- Answer without the app, by link
- Weekly reminders to keep telling
- Music and nature sounds as you talk
- A family tree for the whole family
- Save it as a PDF or a Word file
- A printed book, shipped worldwide
- Private and end-to-end encrypted
- Download the app
Get FamilyStories from the App Store on your iPhone or iPad.
- Pick the questions
Tell the app a little about the person, and it picks fitting questions.
- Invite your family
Send your family a link. They answer in the app or in their browser.
Sources
- Create a booklet or book in Word, Microsoft Support
- Setting up a book block in Microsoft Word, BoD Blog
- Formatting a book in Word, Korrektur
- Printing a Word file as a book, GICOM
- Free photo book template for Google Docs and Microsoft Word, TheGoodocs
- Turn off picture compression, Microsoft Support
- Save or convert an Office file to PDF, Microsoft Support
- Benefits of embedding custom fonts, Microsoft Support
- PDF Creation Settings, Lulu Direct