

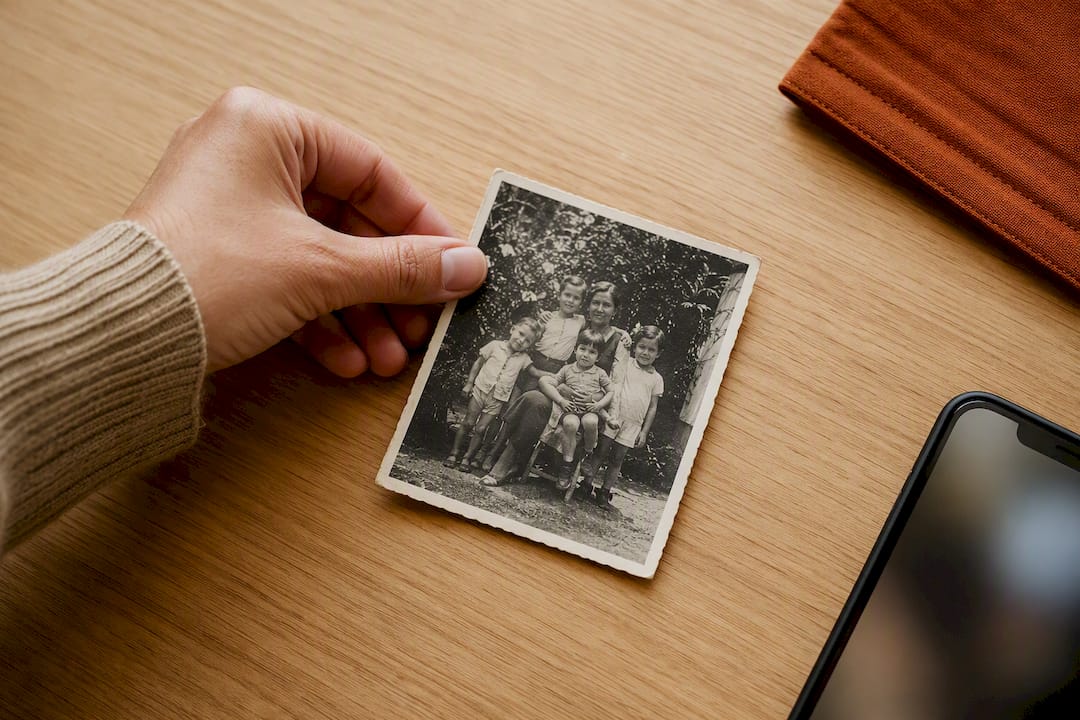
You can digitize a box of family photos without buying a scanner. A phone, soft light, and a scan app are enough for sharing, family albums, and keeping a second copy. The important part is the routine: prepare the photos, keep the camera straight, check each result, and give every file a name you will understand later.
Table of contents
- What you need for a smartphone photo scan
- A calm six-step workflow
- How to get a cleaner result
- Phone, flatbed scanner, or service?
- Name, back up, and find the files again
- Keep the story beside the photo
- Frequently asked questions
- Sources
What you need for a smartphone photo scan
You need very little equipment:
- a phone with a reasonably recent camera;
- a photo-scanning app, or the regular camera app if you prefer to crop by hand;
- a flat, matte surface;
- soft daylight from a window, away from direct sun;
- a stand or stack of books if you are scanning many prints.
A dedicated app can guide you to the corners, combine several exposures, and reduce glare. The app matters less than the light and the alignment. Test one photo before you commit to a whole box.
A calm six-step workflow
1. Sort a small batch
Start with ten to twenty pictures, not the whole cupboard. Group them by person, event, or approximate year. If a photo has writing on the back, scan or photograph that side too. It may be the only clue a grandchild has later.
2. Clean the setup
Wipe dust from the table and gently blow loose dust from the print. Do not use water or cleaning spray on old paper. Remove photos from glass frames before scanning; glass adds reflections and another surface for the camera to see.
3. Set up soft light
Place the print flat near a window. Cloudy daylight or a white curtain gives an even result. Avoid direct sun, a bright lamp above the photo, and your own shadow. Switch off the phone flash because a shiny print sends the light straight back into the lens.
4. Align the phone
Hold the phone directly above the center of the photo. The four edges should look like a rectangle, not a trapezoid. A small stand makes this repeatable. Lock focus if your camera offers that option and tap the face or detail you want to keep sharp.
5. Scan and inspect
Follow the app's corner markers and let it make its combined exposure. Then zoom in briefly. Look for cut-off edges, a blurred face, a reflection, or a color cast. If you used the regular camera, crop only after checking that no part of the print has been lost.
6. Save before moving on
Export the file to its final folder immediately. A simple name such as 1984_summer_garden_grandma.jpg is more useful than IMG_4821.jpg. Keep a copy of the back of the print with the same base name if it contains a date or names.
How to get a cleaner result
Light and alignment usually make a bigger difference than an extra filter. If the print is glossy, move the phone or window slightly until the reflection leaves the lens. Do not use a strong “vintage” filter while scanning; keep one neutral master file and make a creative copy later.
A phone records pixels rather than a fixed scanning DPI. What matters first is how many pixels cover the print. If you later print the image, the print size and the pixel dimensions together determine how detailed it can look. For a family archive, keep the camera's full resolution and avoid repeatedly saving a compressed messaging-app copy.
Very small prints, damaged originals, or photos you plan to enlarge for a wall may justify a flatbed scanner or a professional service. For a few dozen ordinary prints, a careful phone workflow is usually faster and easier to repeat.
Phone, flatbed scanner, or service?
| Choose | Best for | Trade-off |
|---|---|---|
| Smartphone | Small batches, sharing, family albums | Glare and alignment need attention |
| Flatbed scanner | A large, consistent batch or larger prints | Slower setup and more equipment |
| Professional service | Fragile originals or a very large archive | Higher cost and less control over the process |
If an original is brittle, stuck to glass, or especially valuable to your family, stop before forcing it. A service that handles fragile material can be safer than experimenting at home.
Name, back up, and find the files again
A scan is only useful when someone can find it. Pick one naming pattern and keep it for the whole collection. Include an approximate year when you know it, the event or place, and one person. Use unknown rather than inventing a precise date.
Keep at least two copies in different places. One can be a cloud folder and the other an external drive stored separately. Open a few files from each copy every few months. If a photo is important, keep the untouched master and work from a duplicate when you crop or restore colors.
A folder can hold the image, but it does not always hold the story. Add a short note while the memory is fresh: who is pictured, where they are, what happened that day, and who can confirm the detail.
Keep the story beside the photo
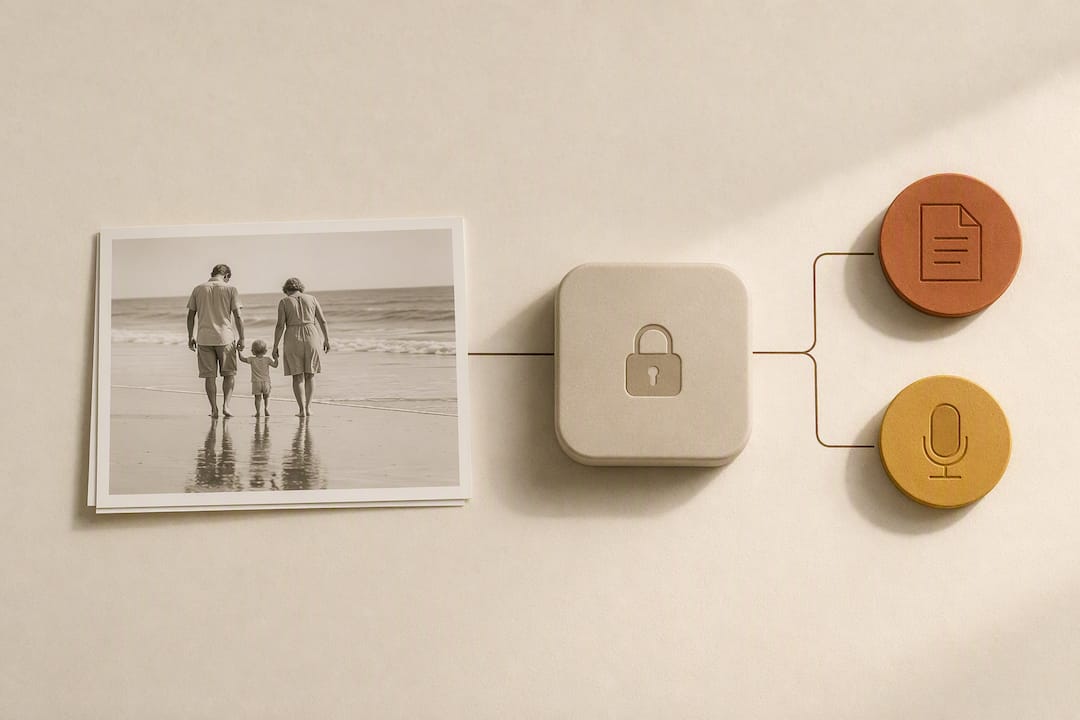
A file name can say “summer 1984.” It cannot explain why everyone is laughing or who stood just outside the frame. Ask one concrete question while you scan: “What was happening just before this picture?” A one-minute voice note is enough. Save the answer with the image, then correct names and dates later.
If relatives live in different places, a private family collection can keep the photo, written answer, and original voice together. FamilyStories provides guided questions, text and voice answers, automatic transcription, and photo attachments in one encrypted family space. A relative can also answer selected questions through a private browser link. Use the questions to ask your parents about their life guide when a picture needs a gentle opening question.
Plan a project you will actually finish
Set a small goal such as one envelope or fifty photos per session. Keep a simple list with three columns: scanned, named, and backed up. Put the most meaningful or fragile photos first. At the end of each session, choose one picture to discuss with a relative. That turns filing into a conversation and prevents the archive from becoming another unfinished box.
Frequently asked questions
Yes. Use a phone, indirect light, a flat surface, and either a scan app or the regular camera. A scanner or service is worth considering for fragile originals or very large enlargements.
A photo-scanning app is helpful because it guides the corners and can reduce glare. You can also use the regular camera if you keep the phone parallel and crop carefully. Test the workflow on one photo before scanning dozens.
Keep the phone's full-resolution file. For a later print, the useful detail depends on the image's pixel dimensions and the final print size, not on a DPI number shown by the app alone.
Use soft, indirect light, switch off the flash, and change the angle of the phone or window slightly. Remove the photo from a glass frame and check the image at full size before moving on.
Use one naming pattern with an approximate year, place or event, and a person. Keep the original scan, a second copy in another location, and a short note about the story behind important images.
Preserve the stories that make your family unique
FamilyStories turns thoughtful questions into a private place for your family’s voices, photos, and memories.
- End-to-end encrypted
- Personalized questions you can edit at any time
- Text and voice answers with automatic transcription
- Upload unlimited photos
- A family tree that connects people and stories
- Weekly or monthly reminders
- Answer in the app or securely in a browser via a link
- Preserve each family member’s original voice
- Download the app
Open our homepage and start FamilyStories from there.
- Choose your questions
Choose personal questions and adapt them to your family at any time.
- Invite your family
Share a secure link or invitation code and capture the first story together.